Scott's Computer Cabinet Project Wiring Page
I needed a computer cabinet, and no one makes what I wanted. The only option was to build one myself.
This page documents the wiring phase of the project. While I have wired the fans already and added wire to the bay switches, now I must complete the final wiring of the outlets. Each bay has a separate outlet which is individually switched.
Click on any of the pictures for a larger view.
The Final Wiring
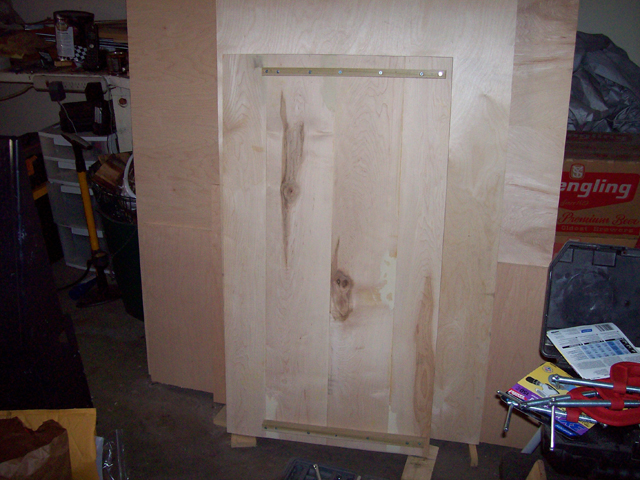
The top was not completely flat, so I added braces to flatten it and to make attachment to the body easier. |

Close-up view of the brace added to the top to flatten it and make attachment to the body easier. |
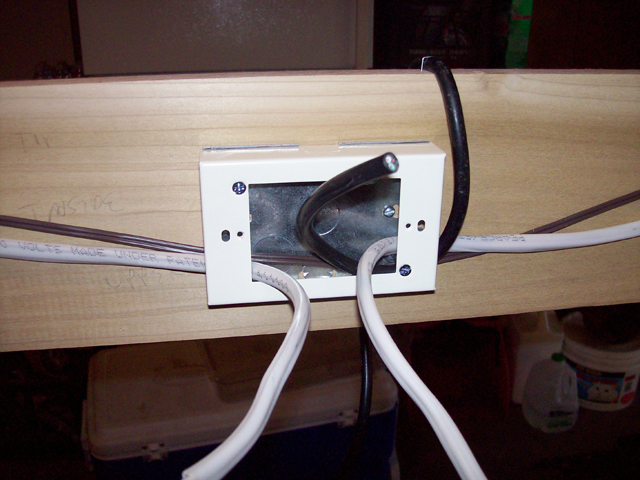
The switch wiring and the power cord ready for installation of the bay outlet. |
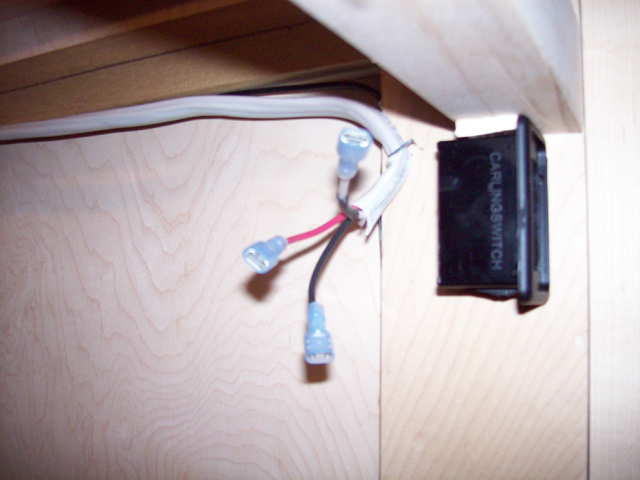
The switch wires are fitted with endings to connect directly to the switch. |
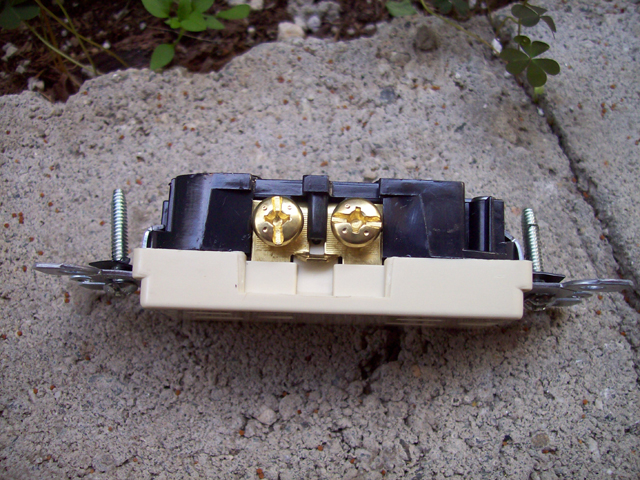
A close-up view of the electrical outlet right out of the box. |

A close-up view of the electrical outlet modified to provide separately switched power. |
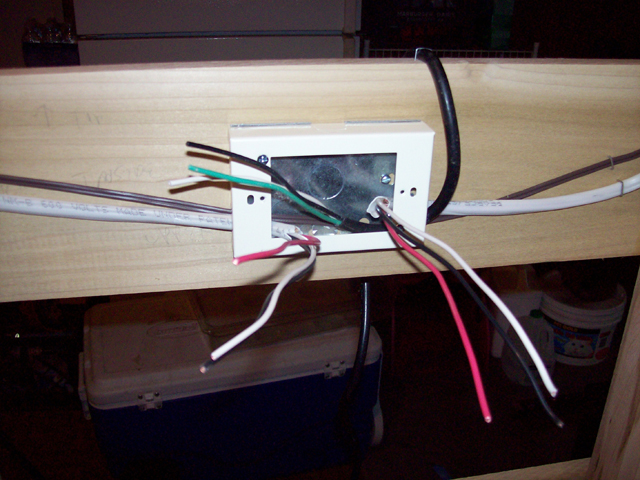
The wires for the outlet prepared for assembly. |
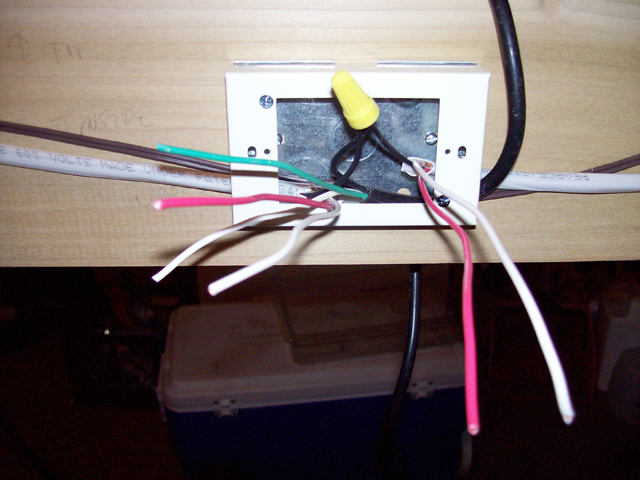
View of the bay power outlet housing with the hot leads connected. |
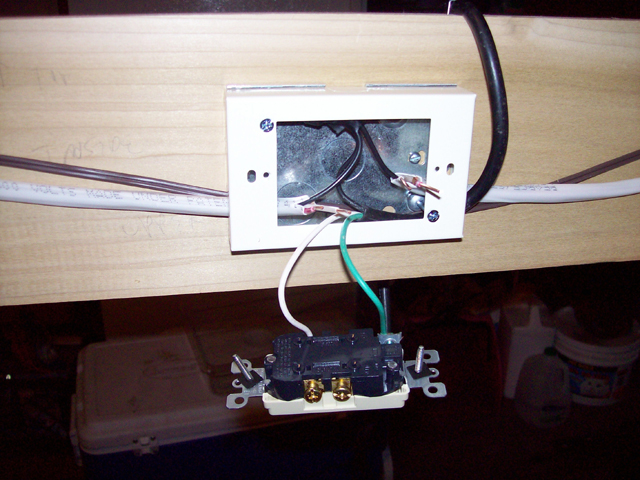
The outlet for two bays with the common neutral and the ground connected.. |
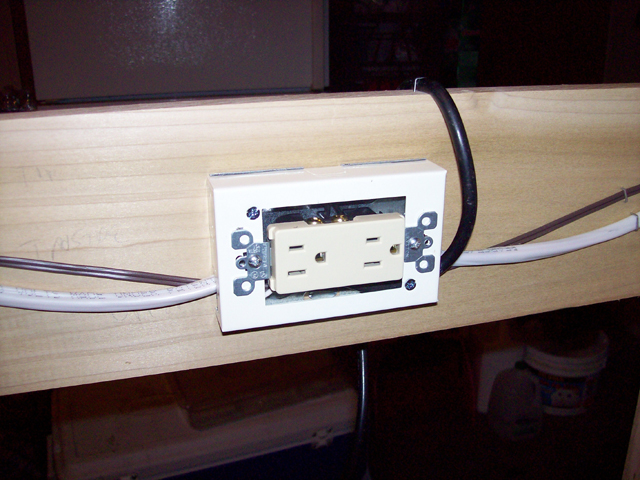
View of the installed outlet for two of the bays, each with a separate switch. |
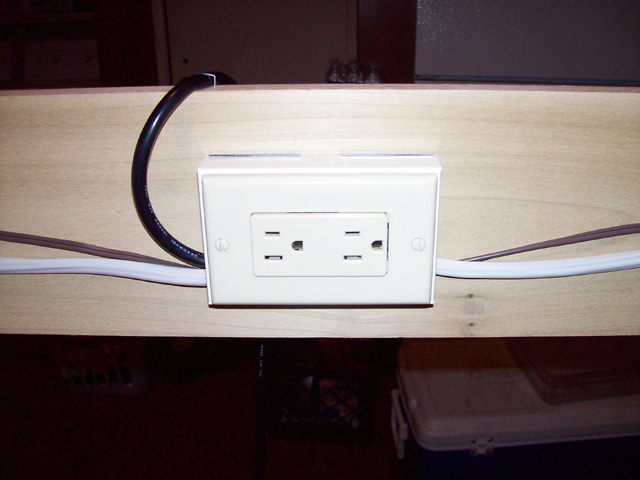
View of one of the outlets that services two bays, each is separately switched. |
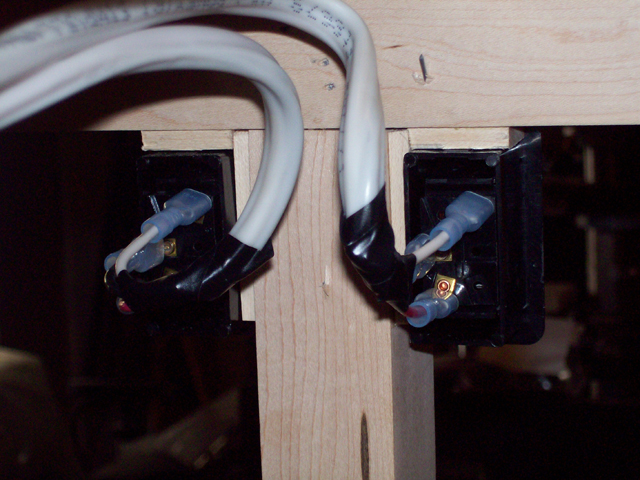
View of two of the switches, fully wired, from the rear. |
Return to the Main Page.