Scott's Computer Cabinet Project Adding Features Phase Page
I needed a computer cabinet, and no one makes what I wanted. The only option was to build one myself.
This page documents the phase of the project where I added the features of the cabinet to the completed body shell. Shelves for the computers and electrical systems were added.
Click on any of the pictures for a larger view.
The Adding Features Phase
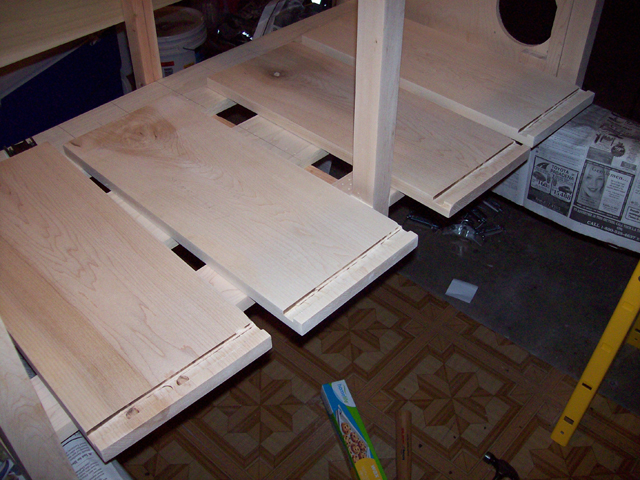
Underside view of the cut shelves and the groove to pull them out with. |
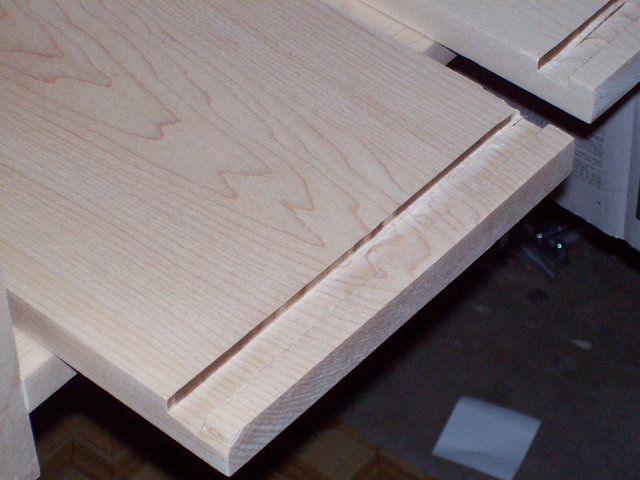
A close-up view of the groove on the bottom of the shelf used to pull the shelves out. |

The finished shelves ready for installation. |
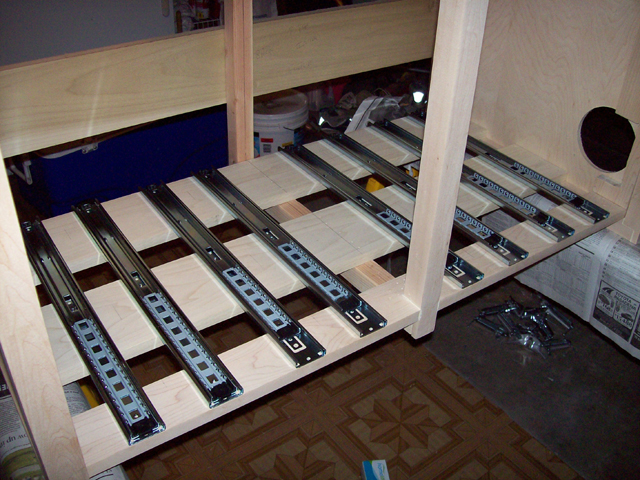
The rails for the shelves installed in the body shell. |
Close-up view of the rails installed in the body. |
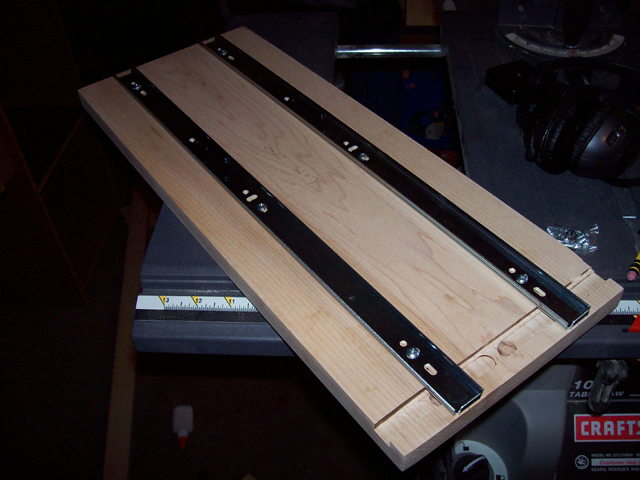
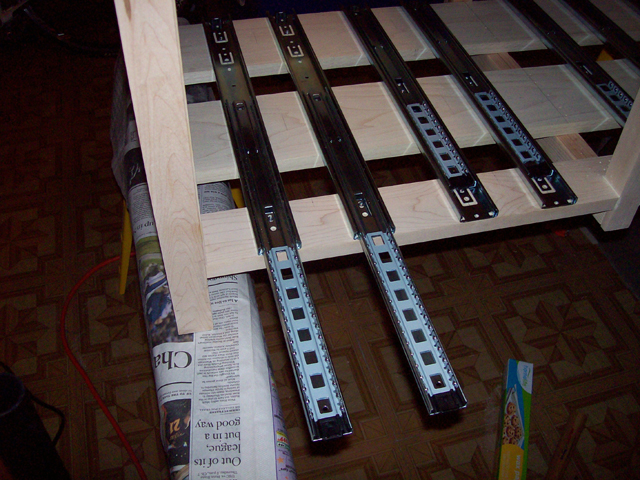
The rails mounted on the bottom of the shelves, ready for installation. |
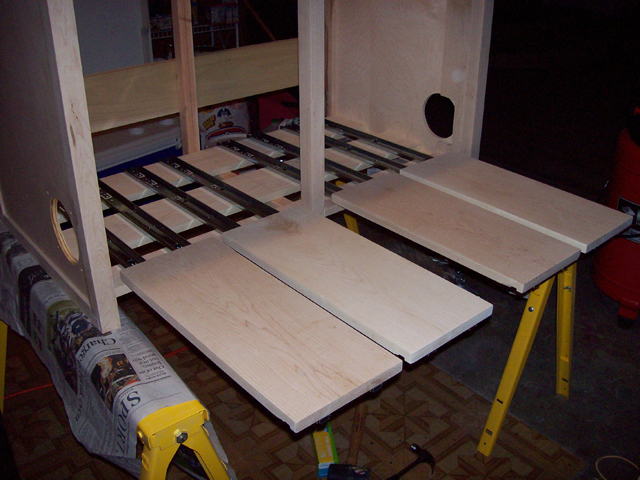
Shelves and rails installed and extended. |
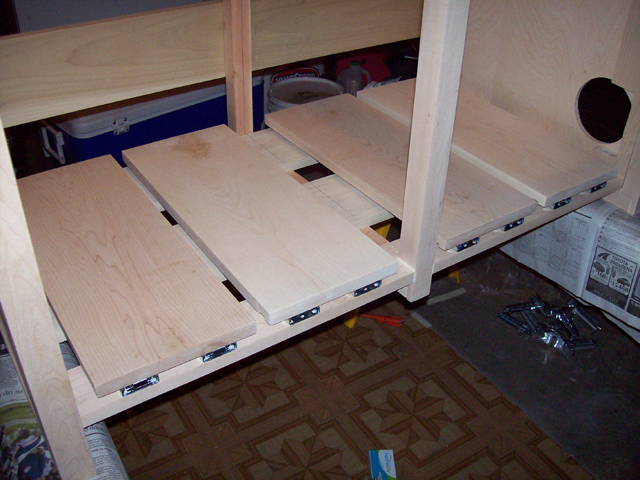
View of the shelves completely installed and in the stowed position. |
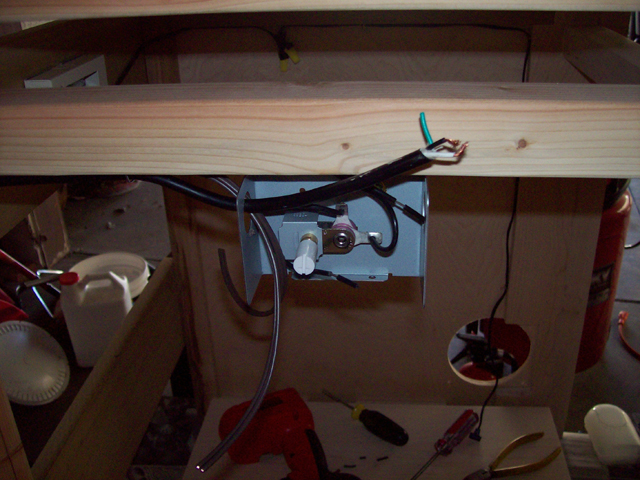
Initial installation of the fan thermostat (attic fan thermostat). |
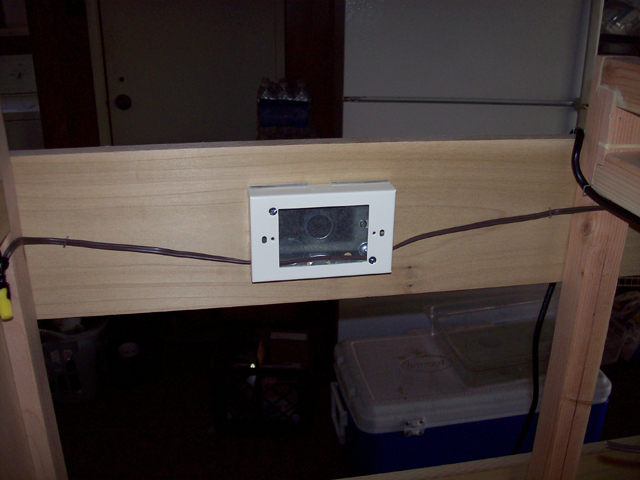
The fan wires pass through the housing where the bay power outlets will be mounted. |
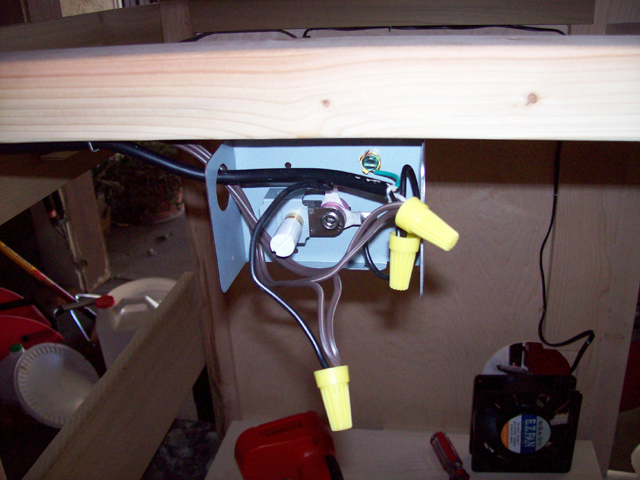
View of the thermostat after the fan and supply wiring are connected. |
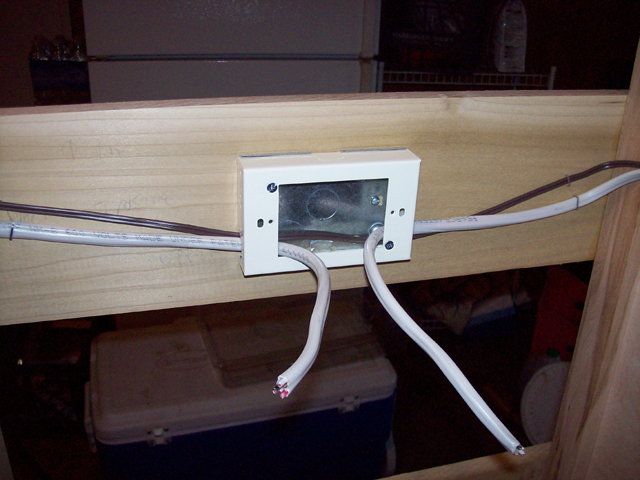
Wiring added that will run to the switch housings for each bay, powered separately. |

View of the thermostat after final assembly. Some switch wiring passes through. |
|
Return to the Main Page.