Scott's Computer Cabinet Project Drawers and Doors Page
I needed a computer cabinet, and no one makes what I wanted. The only option was to build one myself.
This page documents the drawer assembly and door installation phase of the project. The drawers are short in height (almost just to fill in space above the servers) and only extend 3/4 of the depth of the cabinet to allow for air flow out of the back of the cabinet. The doors were assembled anf found to be too big. Don't know how I miscalculated, but after a second session with the table saw (after assembly), the doors were ready to go.
Click on any of the pictures for a larger view.
The Drawer and Door Assembly

The side rails installed for the drawers. Full extension rails used. |
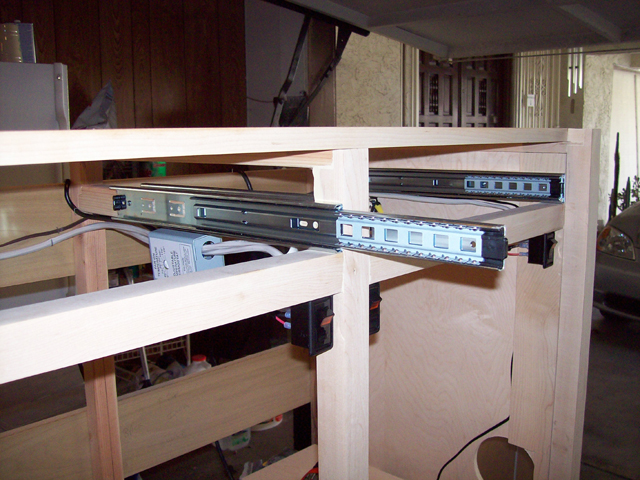
View of the drawer rails extended. Notice the lighted switches for the bays. |
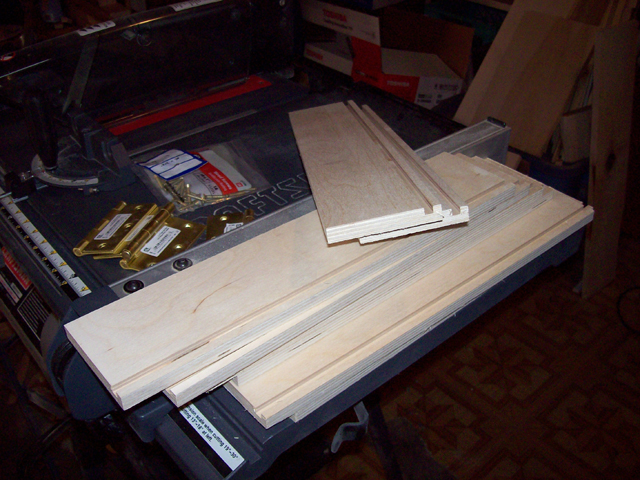
The side pieces that will make up the drawers. Baltic birch. |
A closer view of the side pieces that will make up the drawers. |
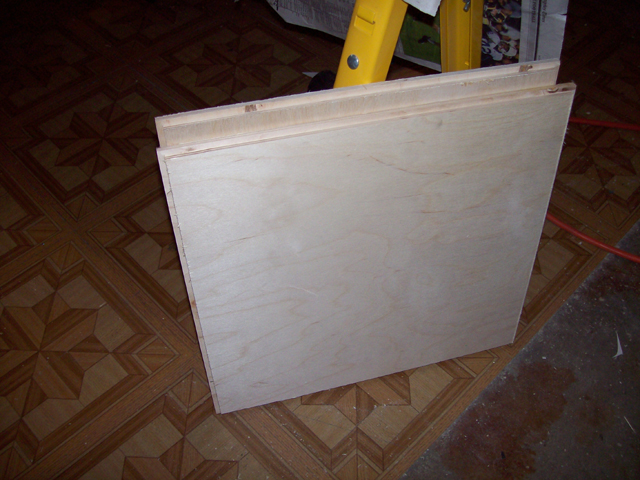
The original routed bottom pieces for the drawers. Baltic birch. |
A close-up view of the original routed bottom pieces for the drawers. These were too small (cut wrong) so they were replaced with a thinner, cheaper material. |

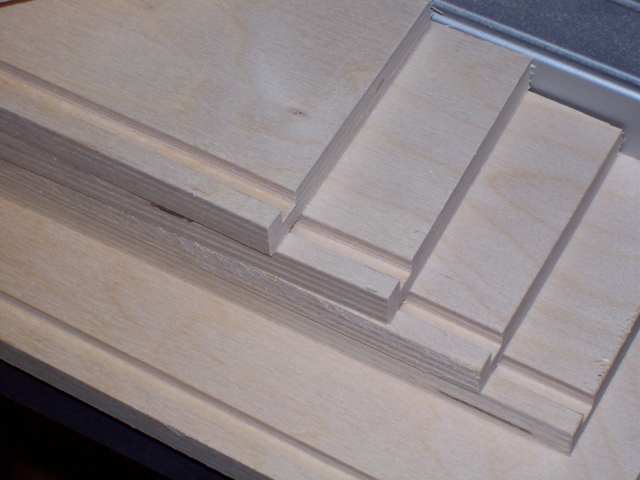
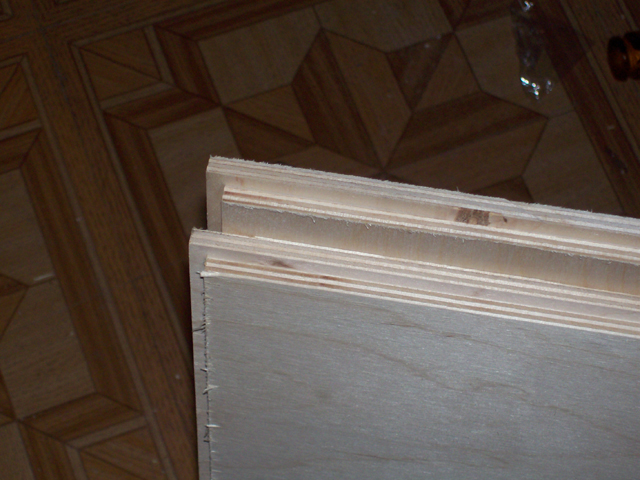
Close-up view of the tongue and groove for the door frame. |
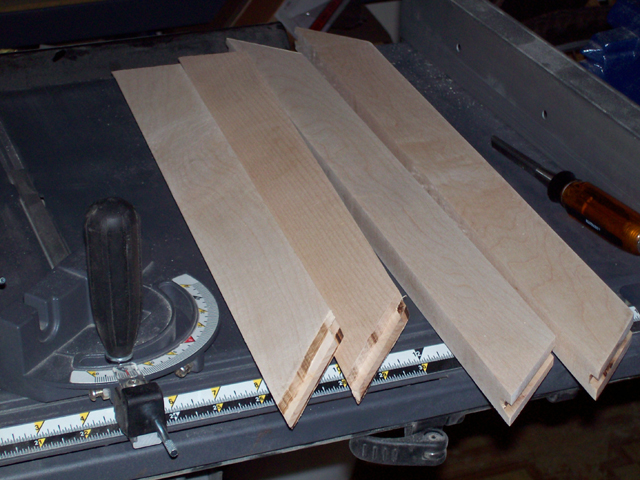
View of the parts to build the frame of one of the doors. |
View of the parts that will be assembled into one of the doors. |
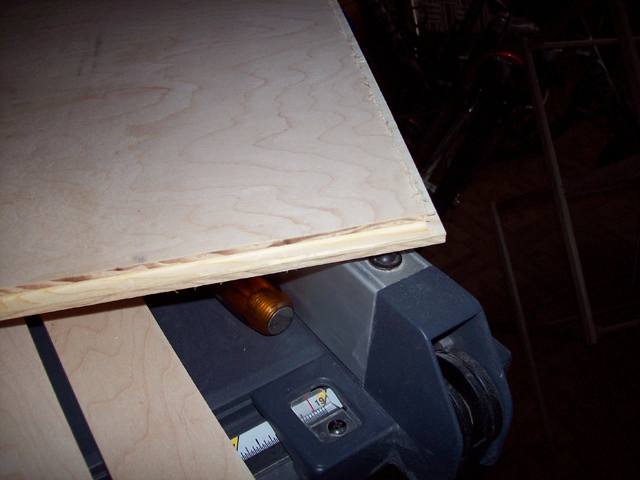
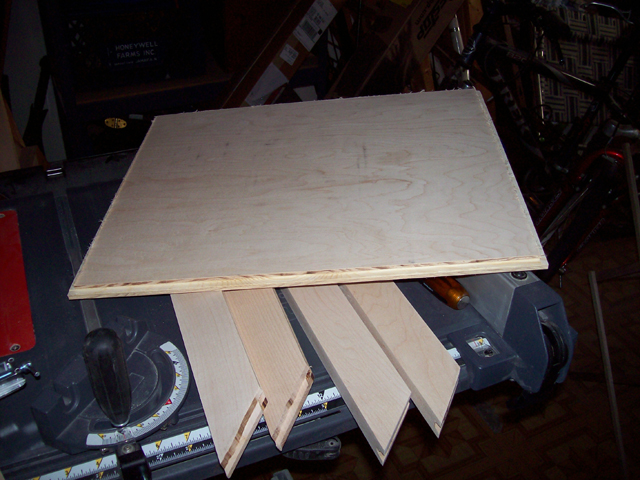
Close-up view of the routing on the door panel. |
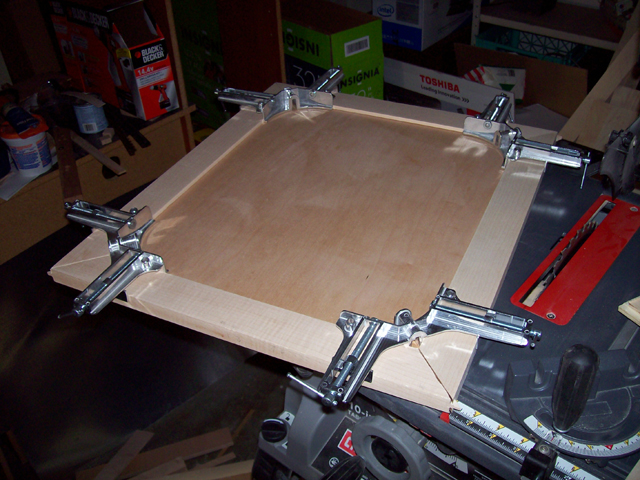
Door assembled using corner braces to attempt to make it square. |

View of one of the doors completed. |
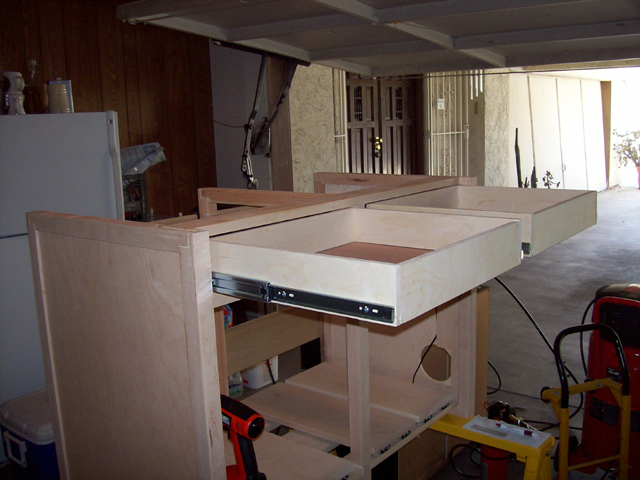
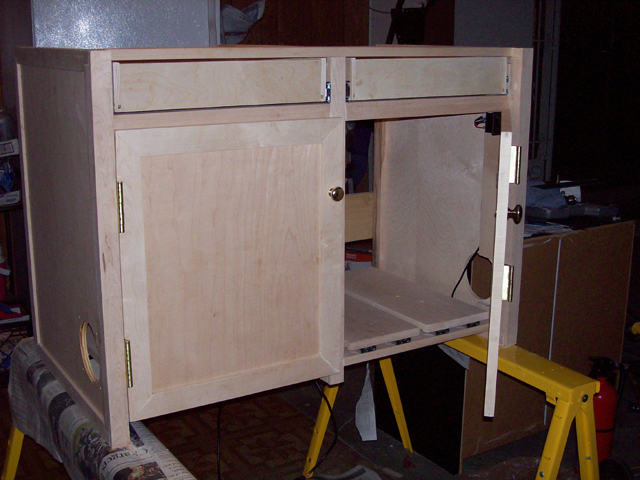
View of the finished and installed drawer boxes. Notice the bottom is not the baltic birch. |
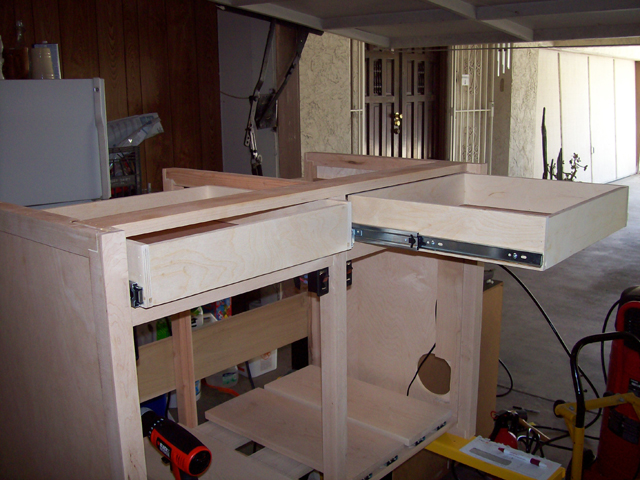
Another view of the drawer boxes as installed. |

View of the door hinges as mounted in the cabinet. Notice the modified holes done on a drill press to accommodate the doors. |
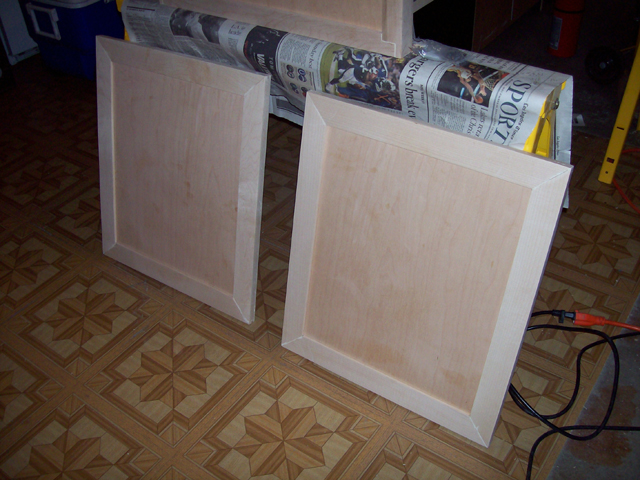
The completed doors ready for installation. |

View of the doors after being installed. |
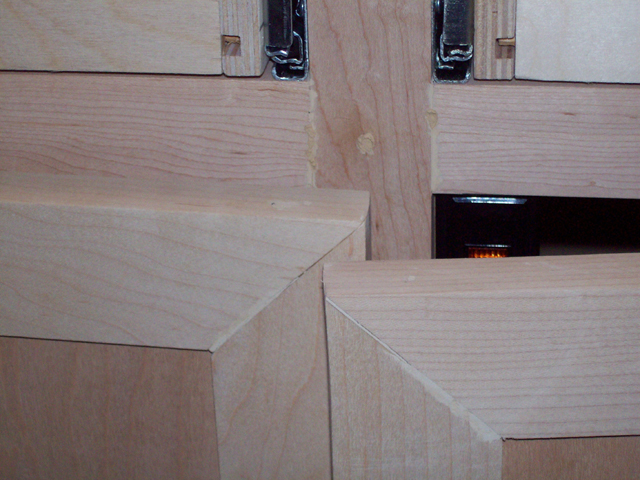
After hanging the doors, I found that I had miscalculated the size and they overlapped. |
Doors resized (the edges trimmed) and rehung. |
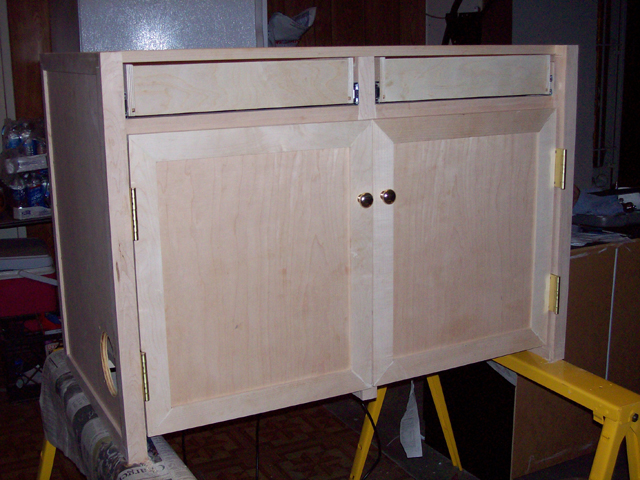
Modified doors rehung and able to close! |
Return to the Main Page.